Hello everyone!
Lately we have been busy doing some DIY in our house. There was still plenty to renovate, both inside and outside, including the guest bathroom. In itself this bathroom was fine, but not my style at all and not matching the other rooms in our house. Time for a makeover.
Apply it yourself? Yes, of course!
Microcement is often applied by a plasterer for example and because several layers have to be applied, this is quite expensive. The microcement from Microcement Nederland you can also apply yourself, which saves considerably on costs.
Workshop Microcement Netherlands
We followed a workshop for this in the showroom of Microcement Nederland, which I would really recommend to you. You can then practice applying it on the spot and ask all your questions. It is also very clearly explained which steps you have to follow, or which layers you apply when and how.

Cooperation
From Microcement Nederland I was allowed to provide our bathroom with microcement. In our own bathroom we also have that (only not applied ourselves) and I still think it is beautiful.
What exactly is microcement?
Microcement is a popular and modern finish, with which you can easily create an industrial concrete look. It is also called concrete stucco. The product originally comes from France. The word literally means waxed / rubbed concrete and is a stucco mortar based on cement.
The most important features that make this product so popular:
- Powerful, industrial look
- Wear-resistant
- Seamless
- Waterproof
- Low maintenance
Can microcement be applied over tiles?
The microcement can also be applied over tiles, but you can also use Wedi boards, like we did. Under the sink we even applied it to plywood (what are suitable surfaces?).
What is included in the microcement package?
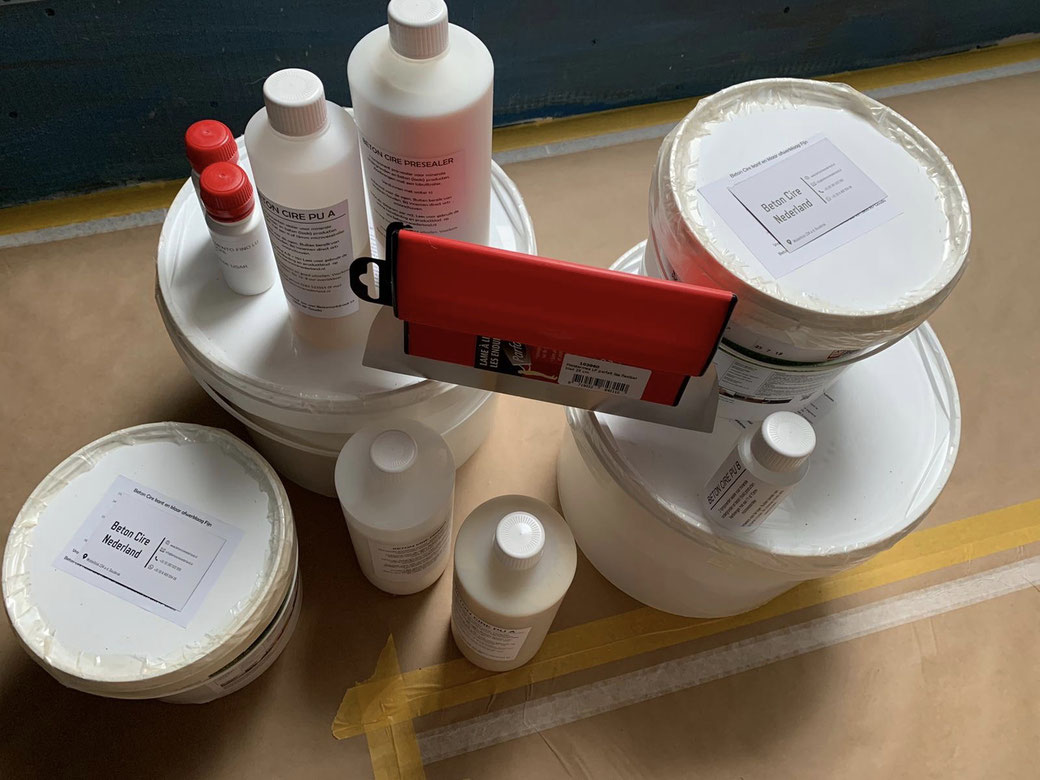
We received a complete ready-made microcement package, which you can find more information about on the website. The package contains:
- Microcement primer
- Microcement paste for base (1 layer) and finish layers (2 layers)
- Presealer (preparation for the coating)
- 2 component PU coating A and B (mixing ratio 10:1)
- Color/pigment of your choice. I chose the color Padro Ocre.
The application of the microcement is done by applying different layers. This differs per surface, for example. Between the different layers it is very important to maintain the minimum drying time and sand if necessary.
During the workshop we were able to practice applying the various layers. I can't say that it is very easy, but it is certainly not difficult either. But you do have to get a certain knack for it and you learn that best by practicing with someone who knows how to do it 🙂

As you can see, you start to see the base less and less and it starts to look more like the final result with each layer! Especially when you start adding the color!

The benefits of microcement
- Applicable almost everywhere: all surfaces are suitable, provided they are dimensionally stable and flat. Some surfaces need to be treated before microcement can be applied. This is easy to solve.
- Maintenance: microcement is easy to maintain because it is seamless and has no joints that can get dirty in the bathroom, for example. The countertop and table are also easy to clean.
- Water and oil resistant: Due to the waterproof coating and strength of the product, the microcement is resistant to all kinds of liquids, heat and scratches.

Many colors
There are many colour options. There are 40 standard colours to choose from. It is also possible to order a RAL or NCS colour.
I chose the colour Padro Ocre, one of the standard colours. I took a tile to the showroom and was able to find the perfect colour using the available colour samples.
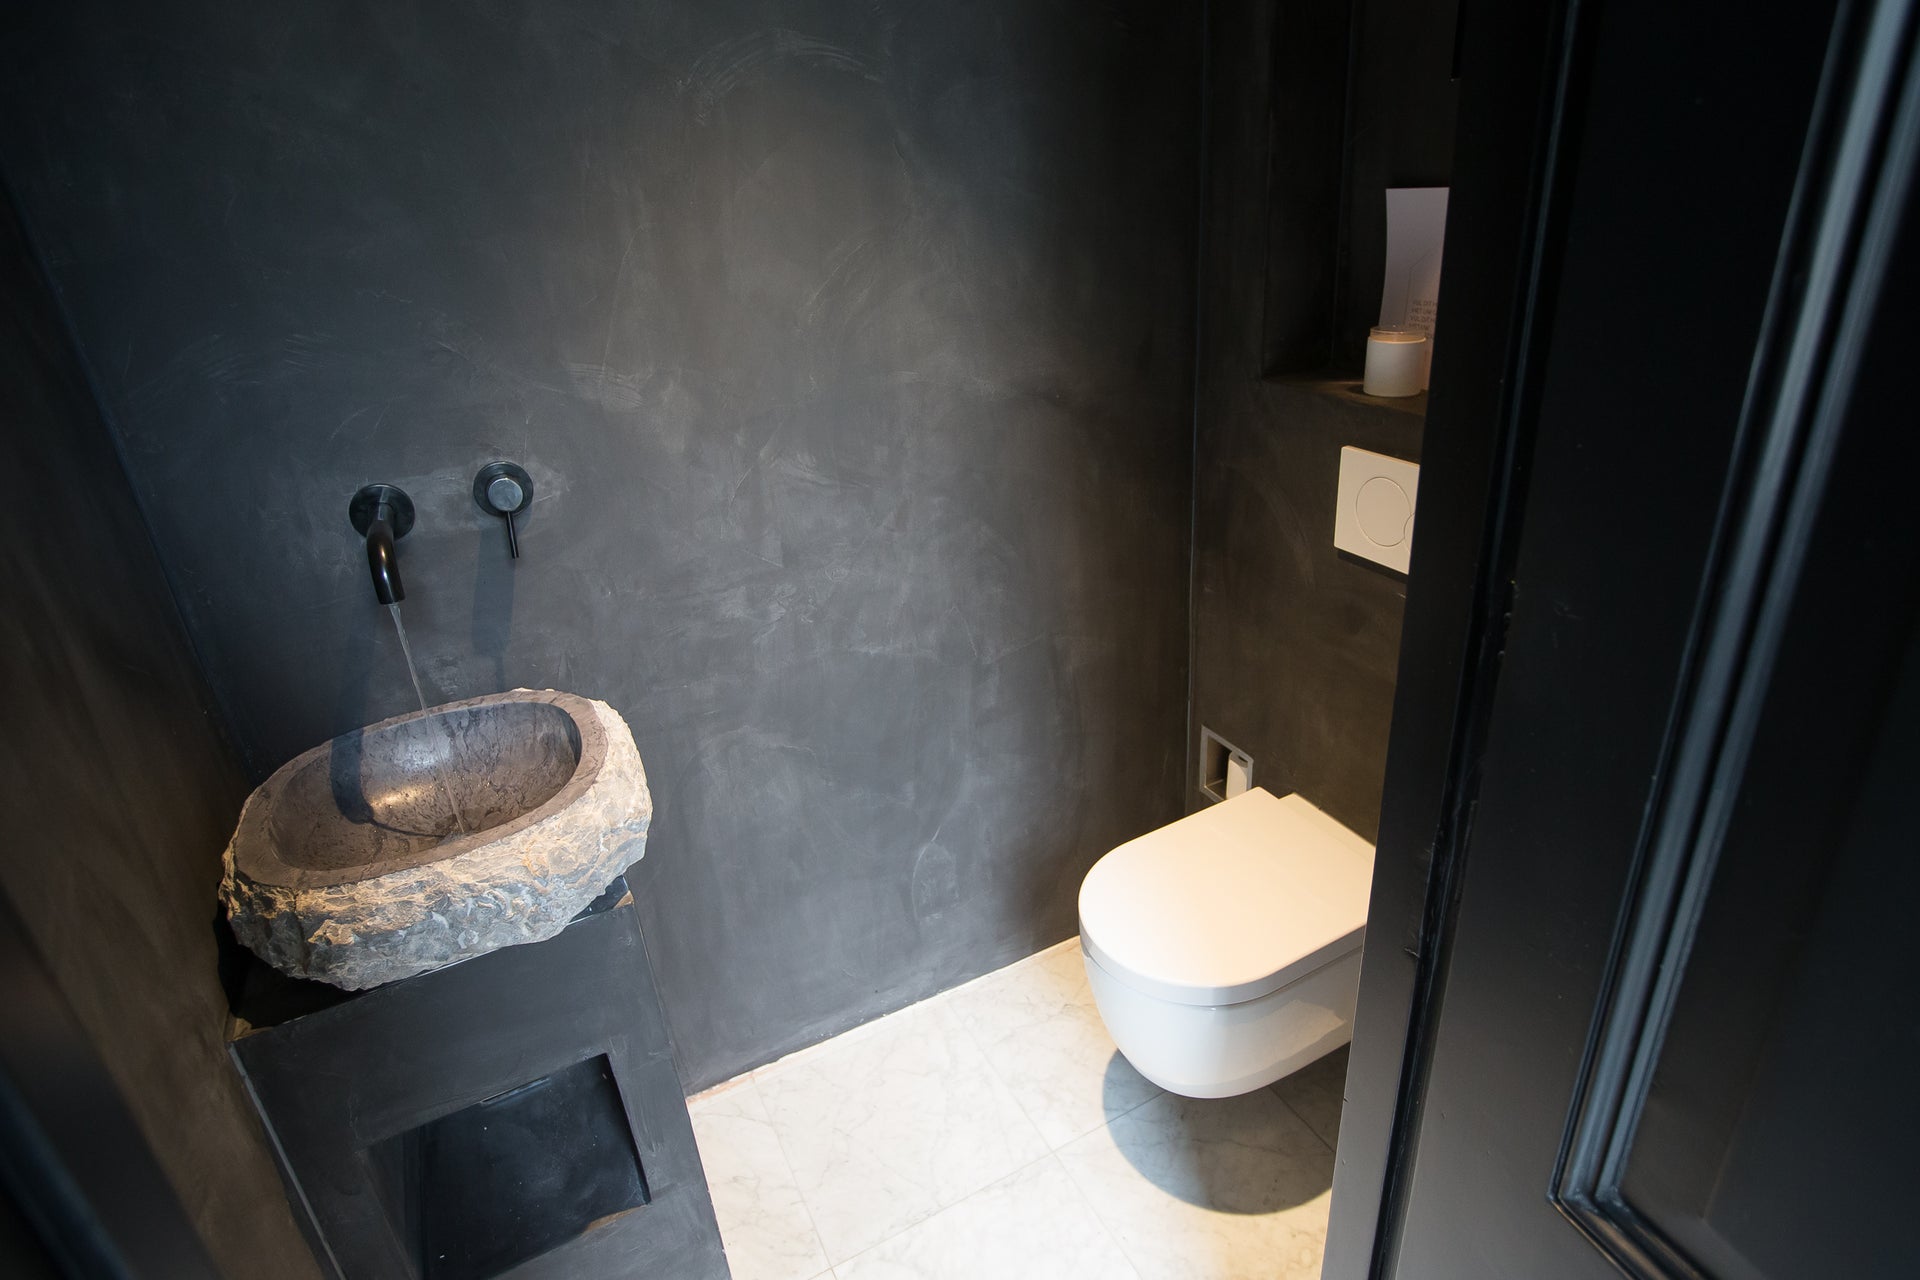
Result
It took us quite a while, but that's also because we had a little one. This is also our guest bathroom, so we had room to shower, etc. in the house. The beautiful zelliges tiles from Mosaic factory make it complete. I really like the combination of matte and glossy! What do you think?
Author: Esther Olivier - Kuipers, Wonenbyes