An affordable bathroom renovation
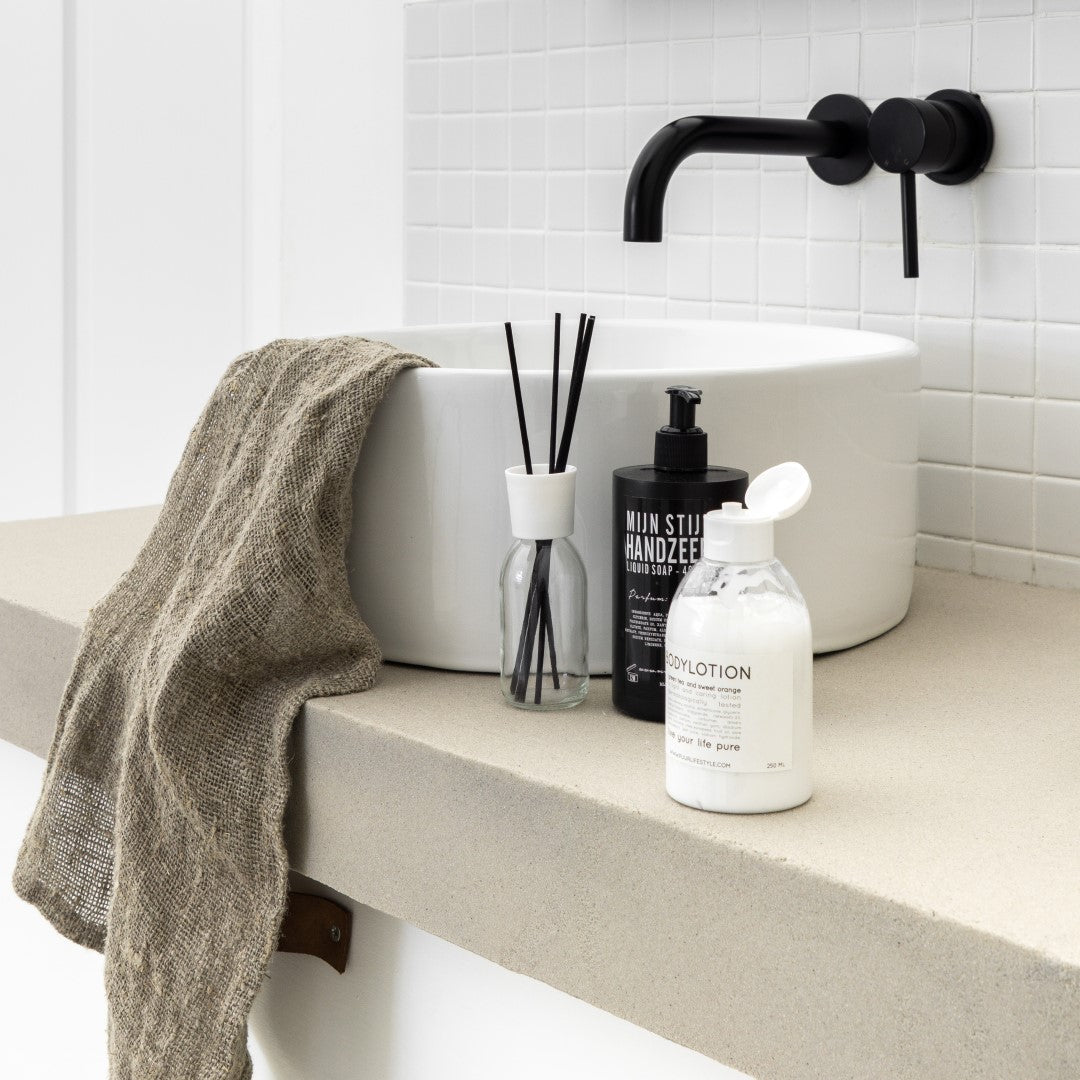
The place where you start your day in the morning and end your day in the evening... I am of course talking about the bathroom. After a busy day, it is very nice to retreat to a bathroom that helps you relax.
Yet the bathroom is often a space that we forget when it comes to furnishing and styling. People think that for a beautiful bathroom you have to renovate everything and that this costs a lot of money. I can show you that this does not have to be the case. With smart adjustments to an affordable basic piece of furniture you can achieve a lot.
We bought the base of the bathroom furniture at Ikea and it is the Godmorgon model. It is a cabinet for a washbasin with two drawers in high-gloss white. We placed two pieces of furniture of 100 cm next to each other against the long wall (the piece of furniture is also available in other sizes).

A glossy bathroom cabinet was not something we had in mind. By the way, I do think a high-gloss cabinet is very beautiful! The style of our farmhouse is practical and minimalistic with a lot of wood. But to also bring the wood look back into the bathroom, we chose to glue wooden panels onto the existing cabinet. That is where our DIY started.
The preparation
Buy records
At the hardware store we bought wooden panels of 6 mm. thick. Tip: If you know the measurements, you can have the panel cut to size at the hardware store. How do you get the right size? You start with the sides of the furniture. To do this, you take the exact measurements of the sides. Piece of cake.
To measure
Then you measure the fronts of the drawers. For left and right, count 6 mm extra per side, because the front has to come past the side of your furniture (see the photo). We did not count the handle of the drawers. We made handles ourselves with pieces of belt from the Action.
Glue
We glued the wooden panels to the furniture with assembly adhesive and screwed them from the inside for extra strength. Because the handles are pieces of screwed-on belt, you also have extra strength from the front through these screws.
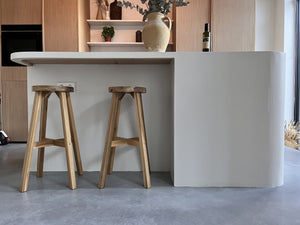
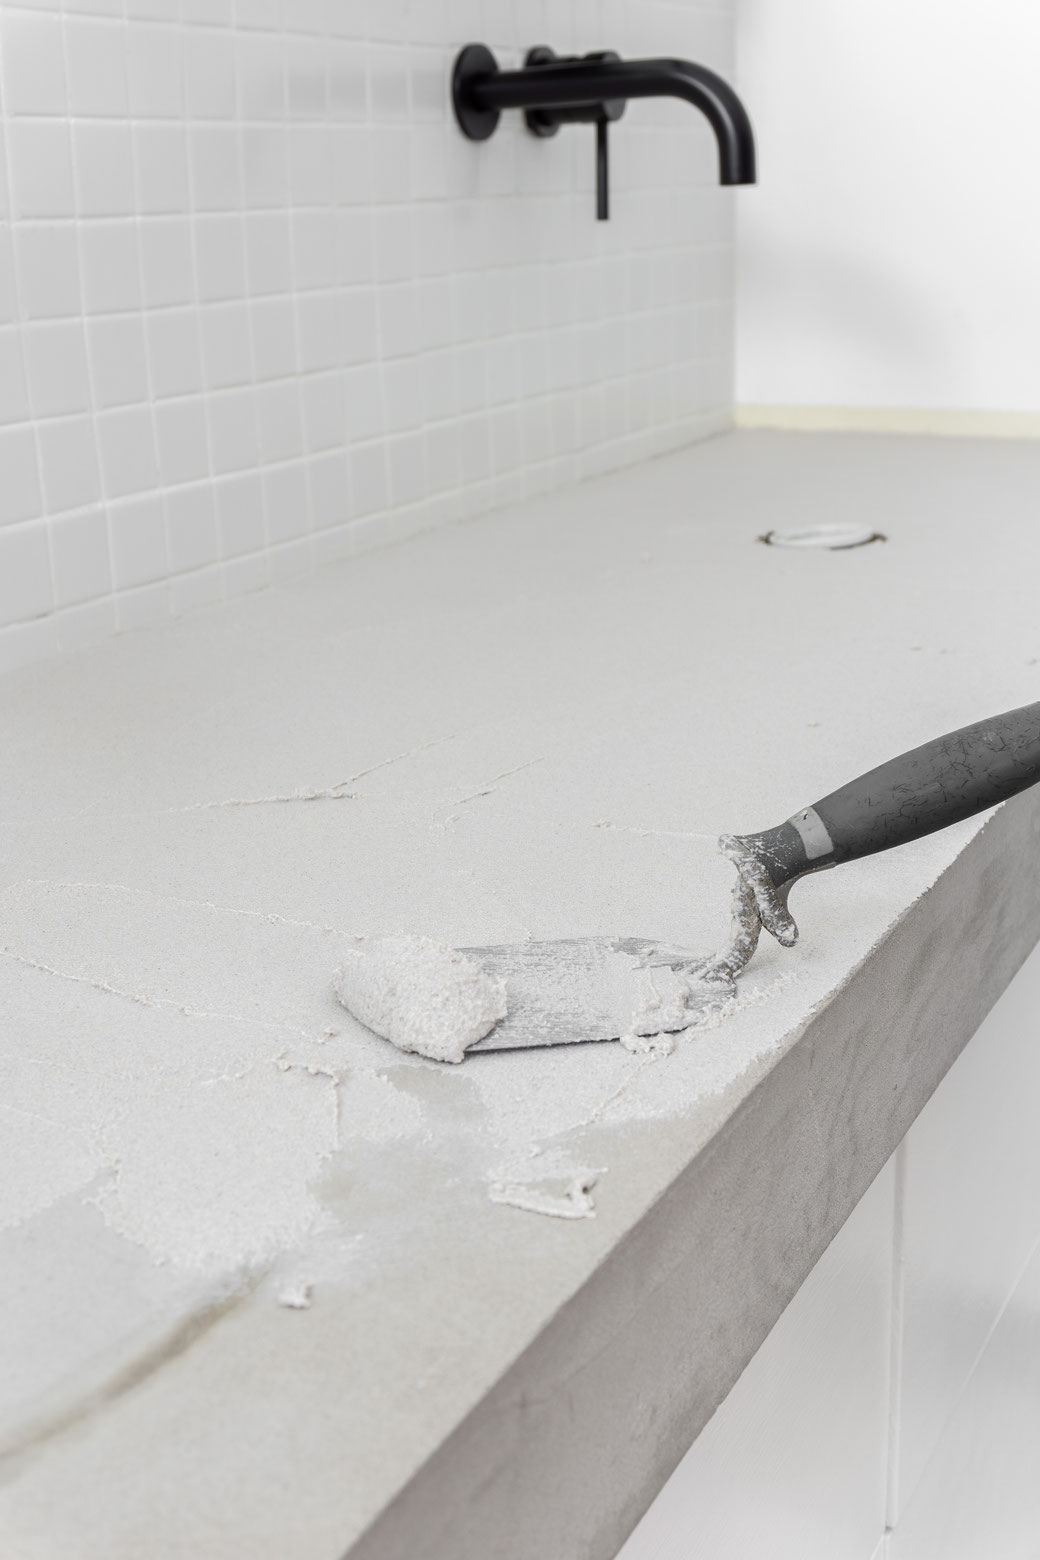
The microcement DIY project
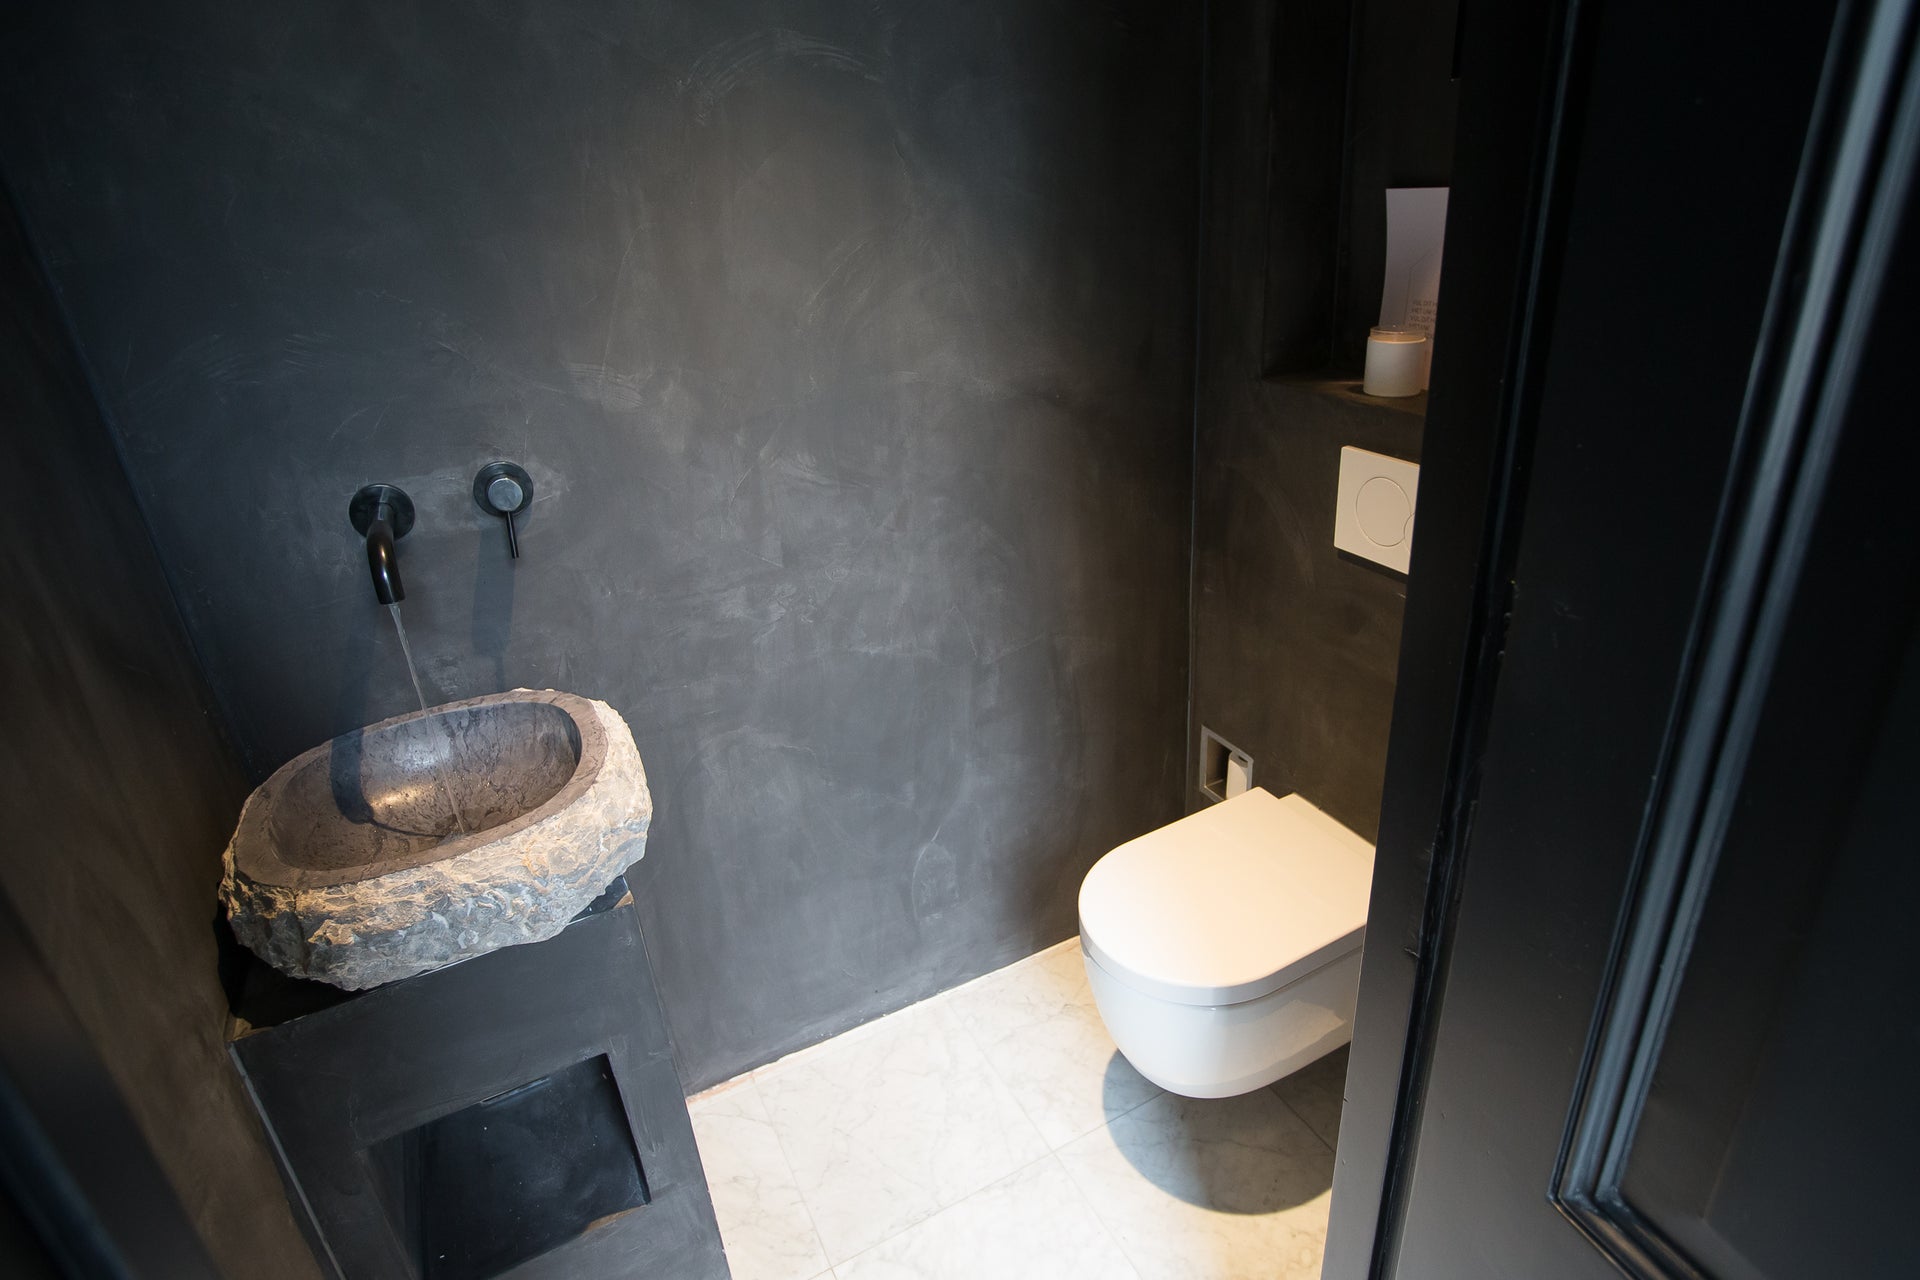
With the paneling of only the front and the side of the furniture we were not finished yet. We also wanted to give the bathroom a tough, industrial look. And that is why we chose a top of microcement. You immediately create a different look with that: just that bit of 'toughness' that makes the space surprising and gives it style.

How do you do that?
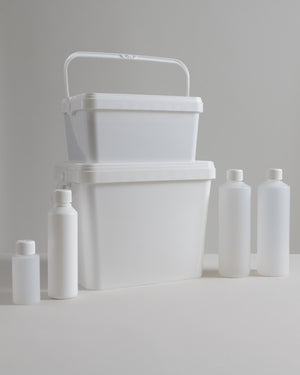
Now I can hear the questions coming: How do you do that? Isn't that difficult? Understandable questions, but I'm going to reassure you. I came into contact with Beton Cire Nederland. And actually you have an immediate answer to all your questions. They deliver the products ready-made from the clear webshop.
With just one order you will receive a complete package at home. From base layer to the final coating.

Choosing a good color
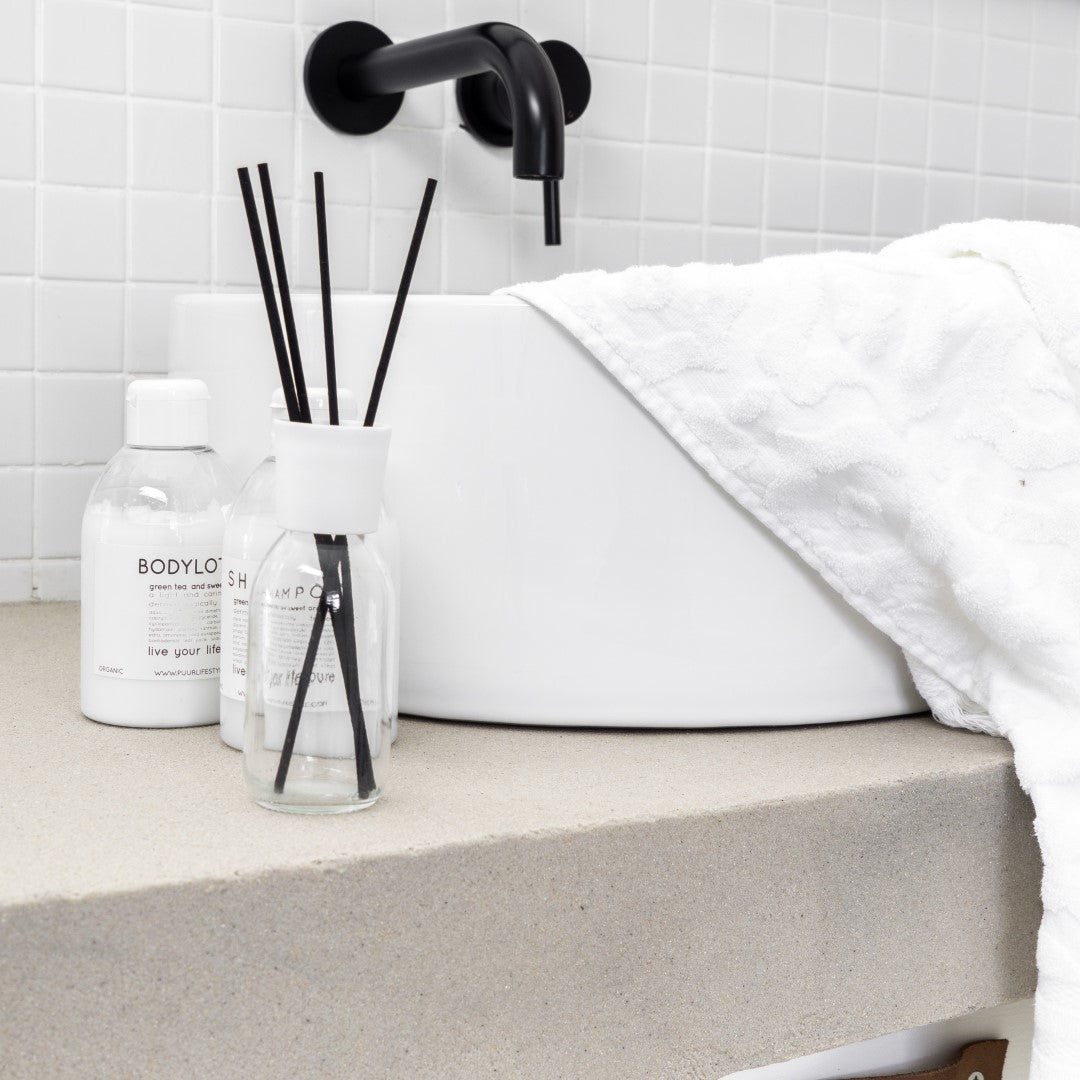
All you have to do is choose a good color. If you choose a light color, your bathroom will look more spacious. If you choose a dark color, your bathroom furniture will stand out more. But it also demands the spacious feeling. We chose the medium gray color. Our bathroom has a lot of white. So a visible color was welcome.
The ready-made materials come with an extensive manual that guides you step by step. In addition, Beton Cire Nederland organizes 2-hour workshops where you learn everything about applying their product. Ideal for a do-it-yourselfer who is still a bit hesitant.
What do you apply microcement to?
The existing bathroom furniture that we bought has a thin top. We did not use this. With wooden plates we made a block of 9 cm high and 210 cm long (slightly longer than the furniture). This block is a good base to apply microcement.
Finishing touch
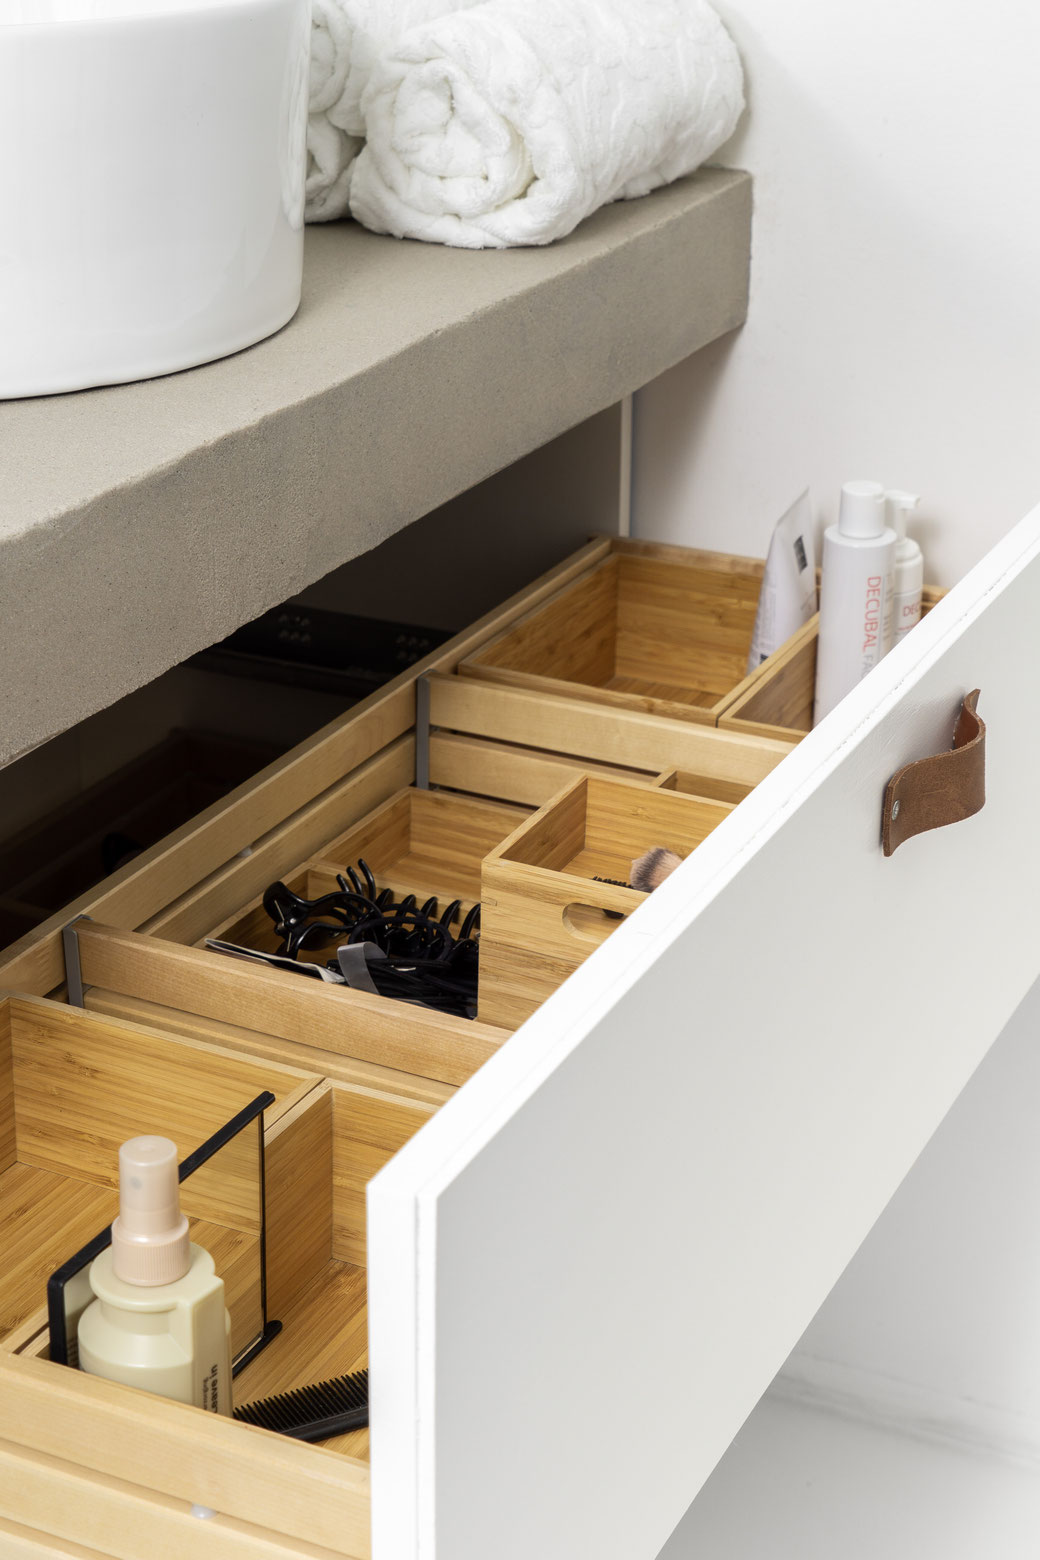
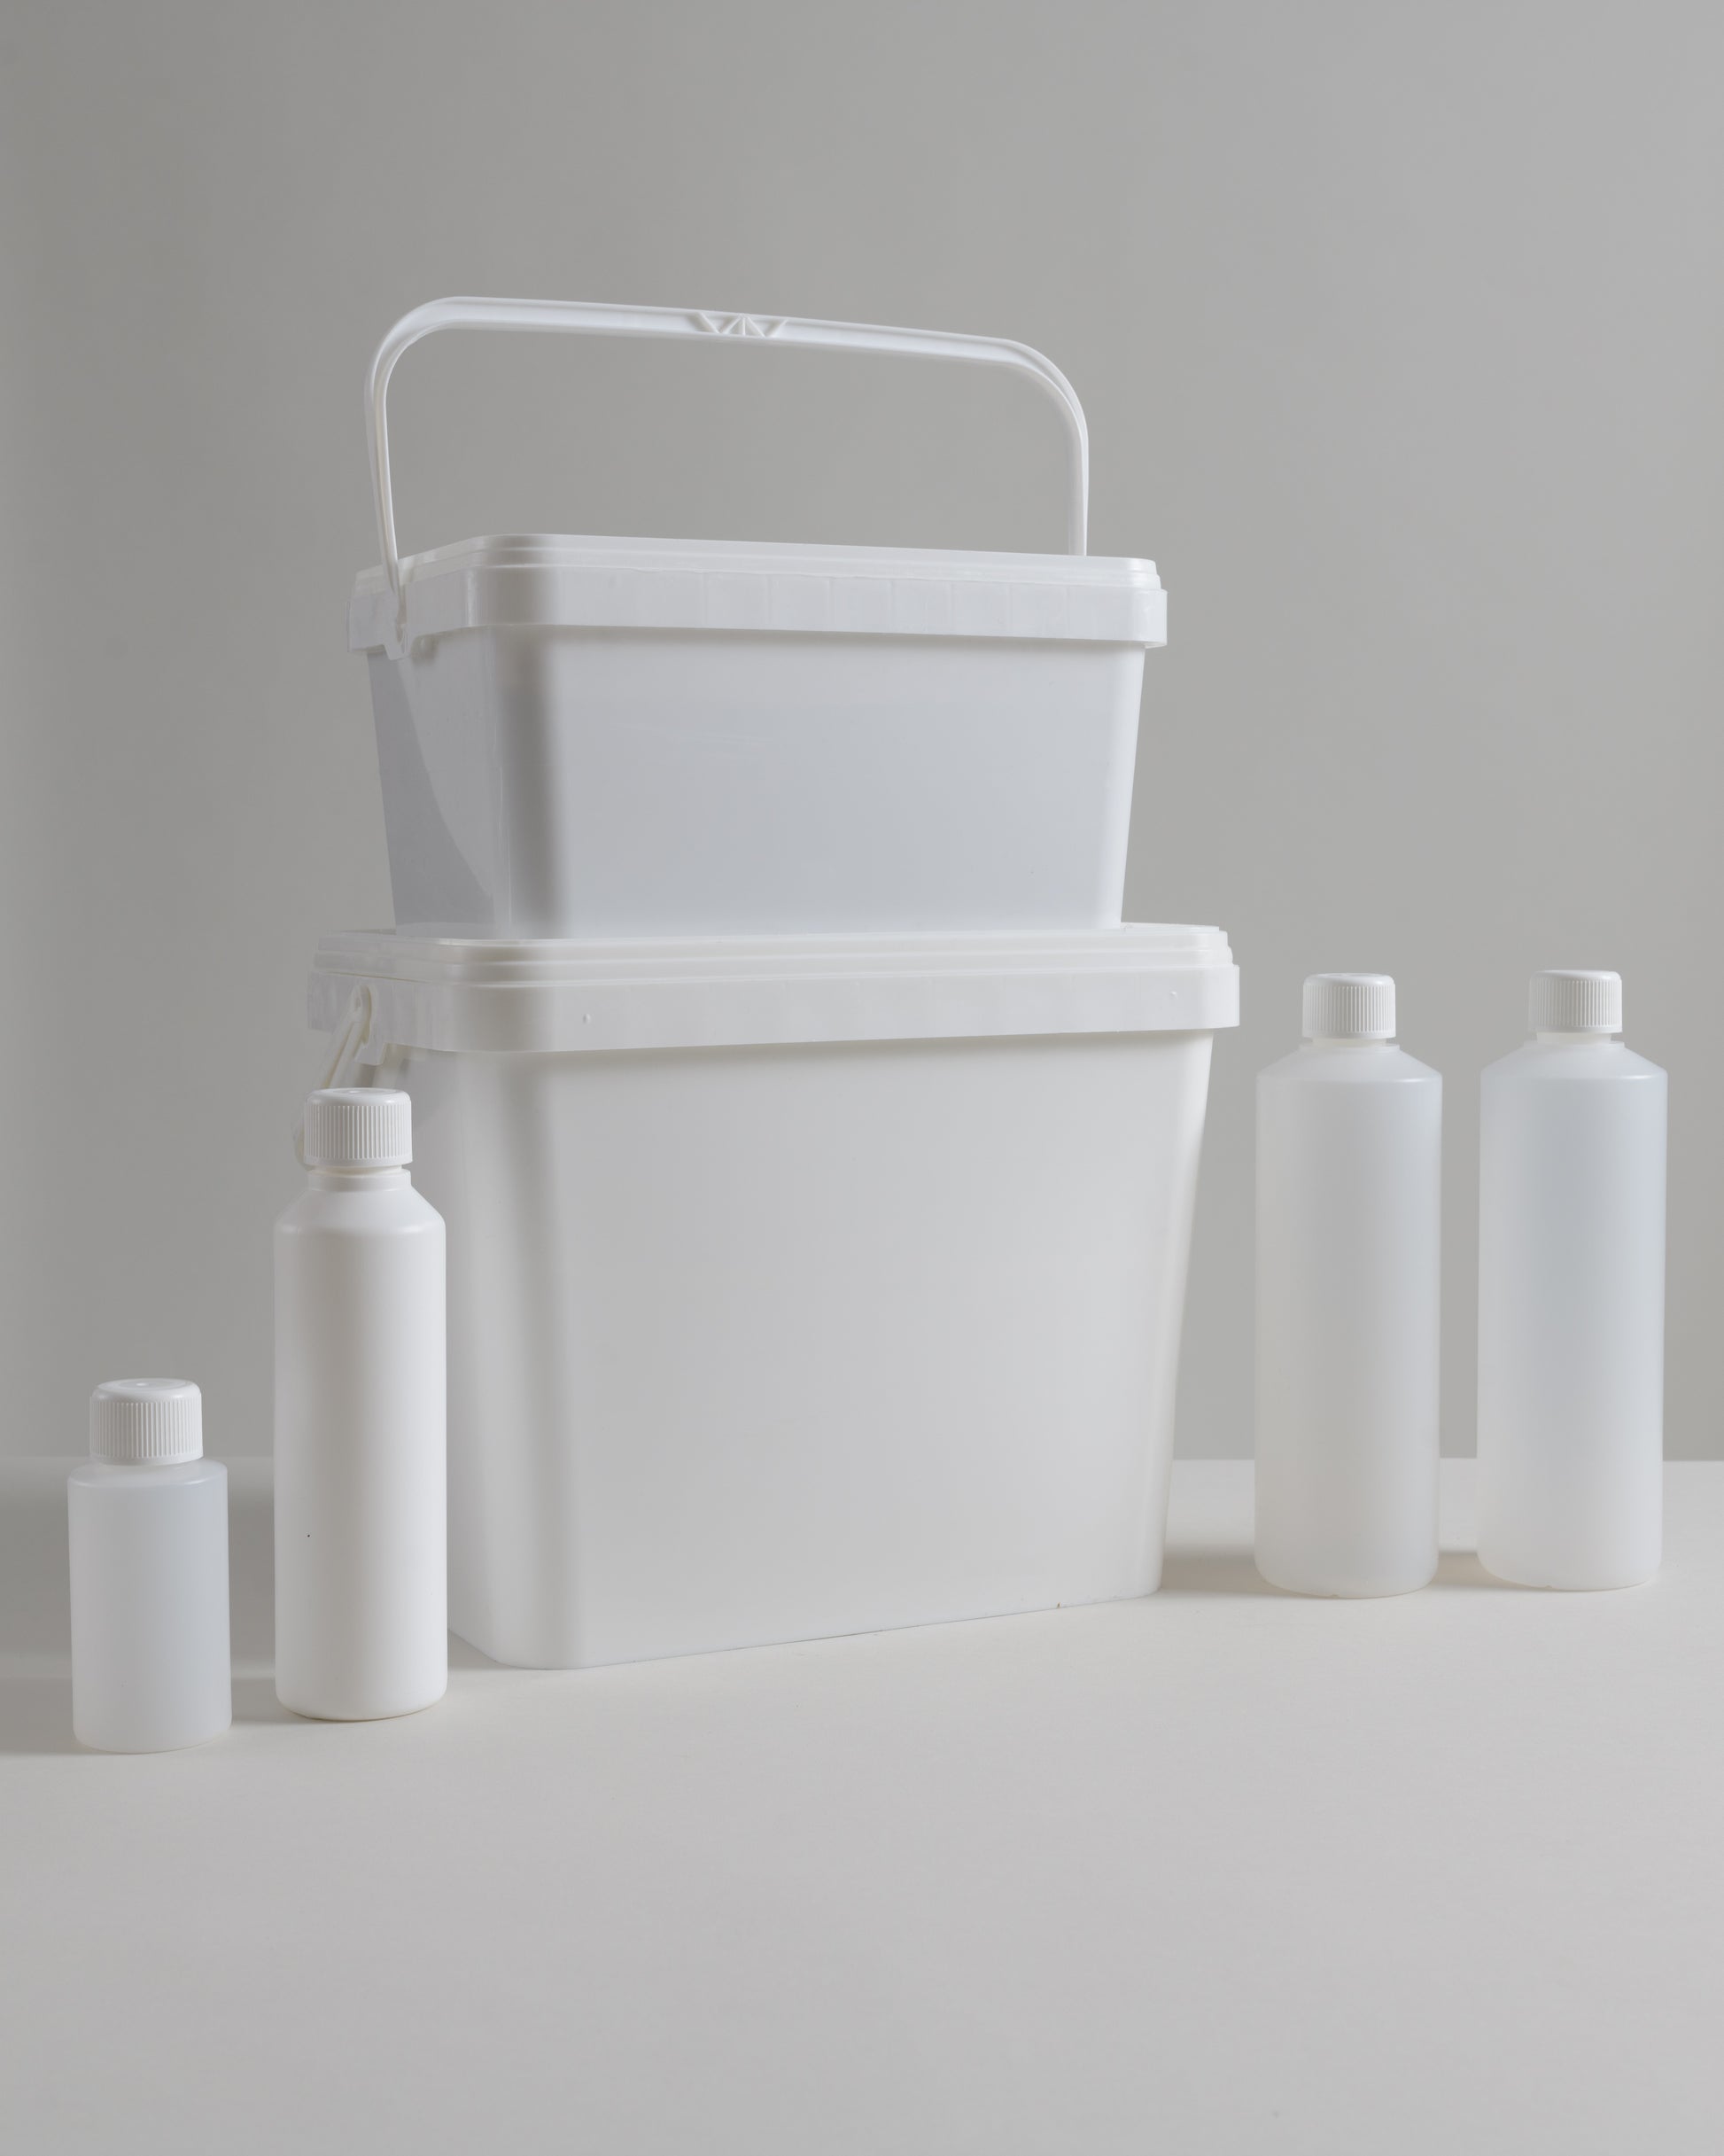
Your bathroom furniture is ready. But you're not there yet. Dozens of bottles, tubes, stacks of towels... If these are in plain sight, it will ensure that your bathroom will never become that stylish, beautiful space as you see in pictures. And: It is not necessary for this to be in plain sight. Therefore, a few tips:
Sufficient storage space is step 1. In the spacious drawers of the furniture I store the products that I use daily. Ikea has handy storage containers for this. This way you can find what you need at a glance. And I store the large supply of bottles and tubes in another place in the house.
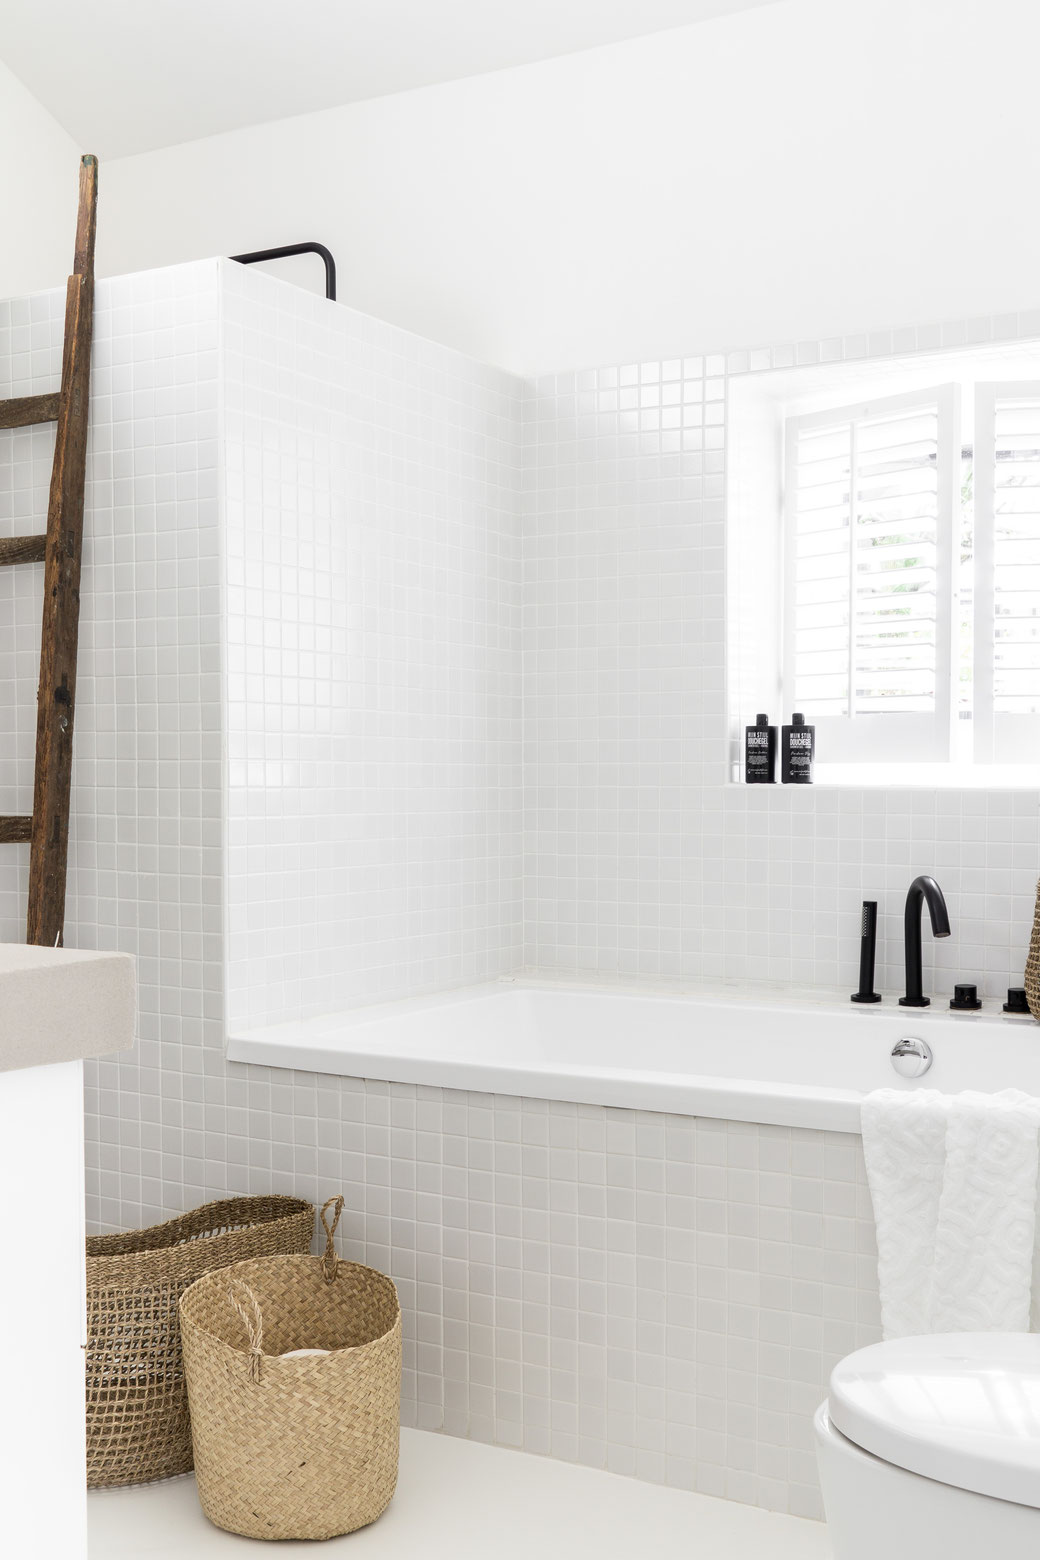
Natural materials create a warm look. Place a wooden stool and wicker baskets. A wicker basket is also suitable for storing any loose items. An old wooden ladder is not only stylishly beautiful, but also suitable as a towel rack.
Time to get started and enjoy your stylish bathroom!
Creative greetings, Karin