You know how it is; you have a wall in your living room, bedroom or bathroom that you want to give a slightly different look than the rest of the walls.
In this DIY (Do It Yourself) we show you step by step how to transform that one boring wall into a cool, industrial eye-catcher with microcement
Step 1. Preparation
Product selection
Since it concerns a wall in front of which a washbasin will be placed, we use the wall package in this case. This has a water and dirt repellent PU coating and is therefore easy to keep clean. In addition, it is a pre-mixed microcement paste to which only the chosen dye needs to be mixed, ideal in processing! Are you curious which product is suitable for your job? View the different microcement applications here.
- Tip 1. Don't forget to download the manual before you start - it's very useful!
- Tip 2. Use a flexible trowel. This will allow you to smooth the microcement more easily, unlike a stiff trowel.
Color choice
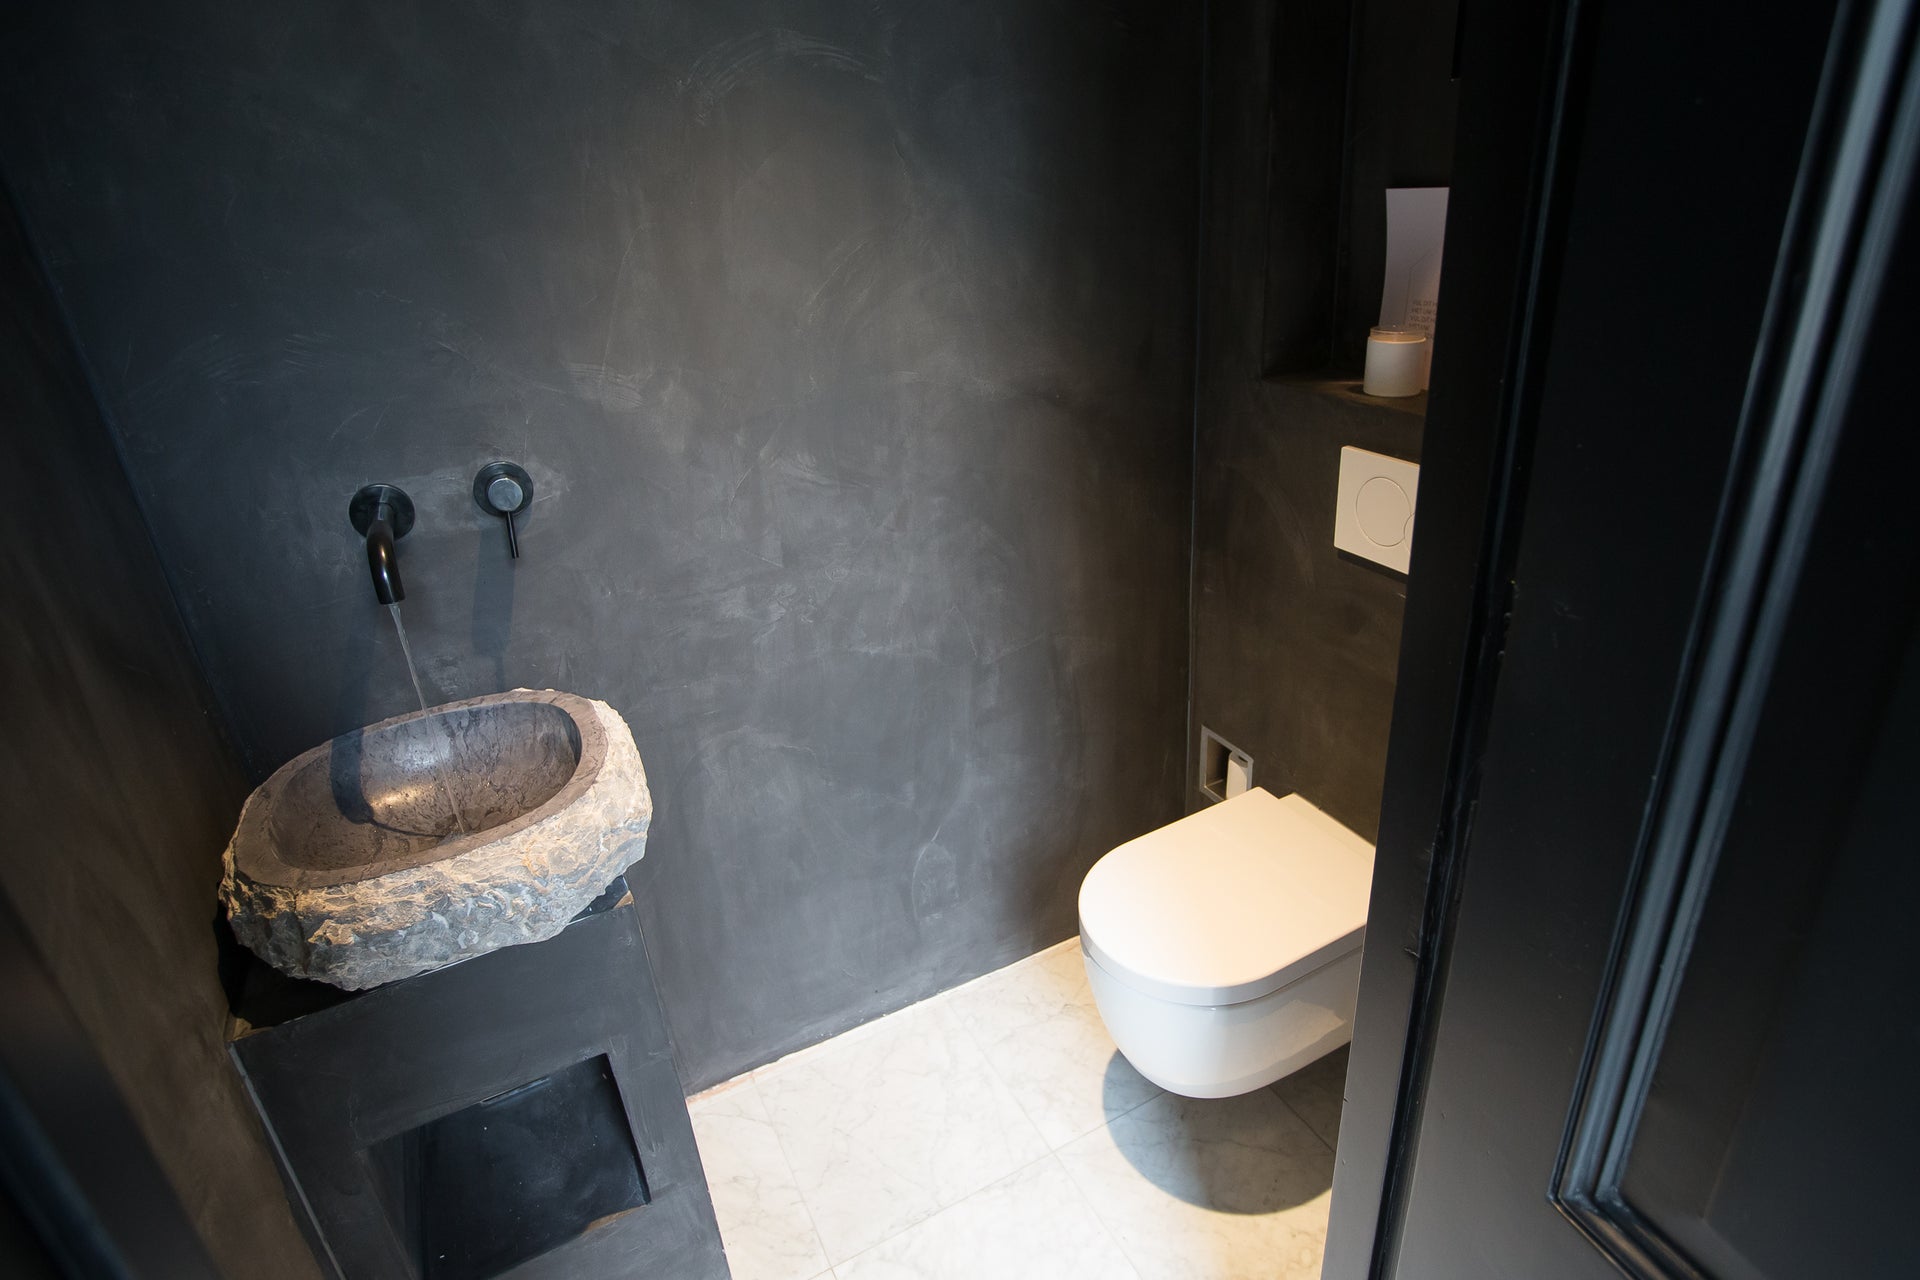
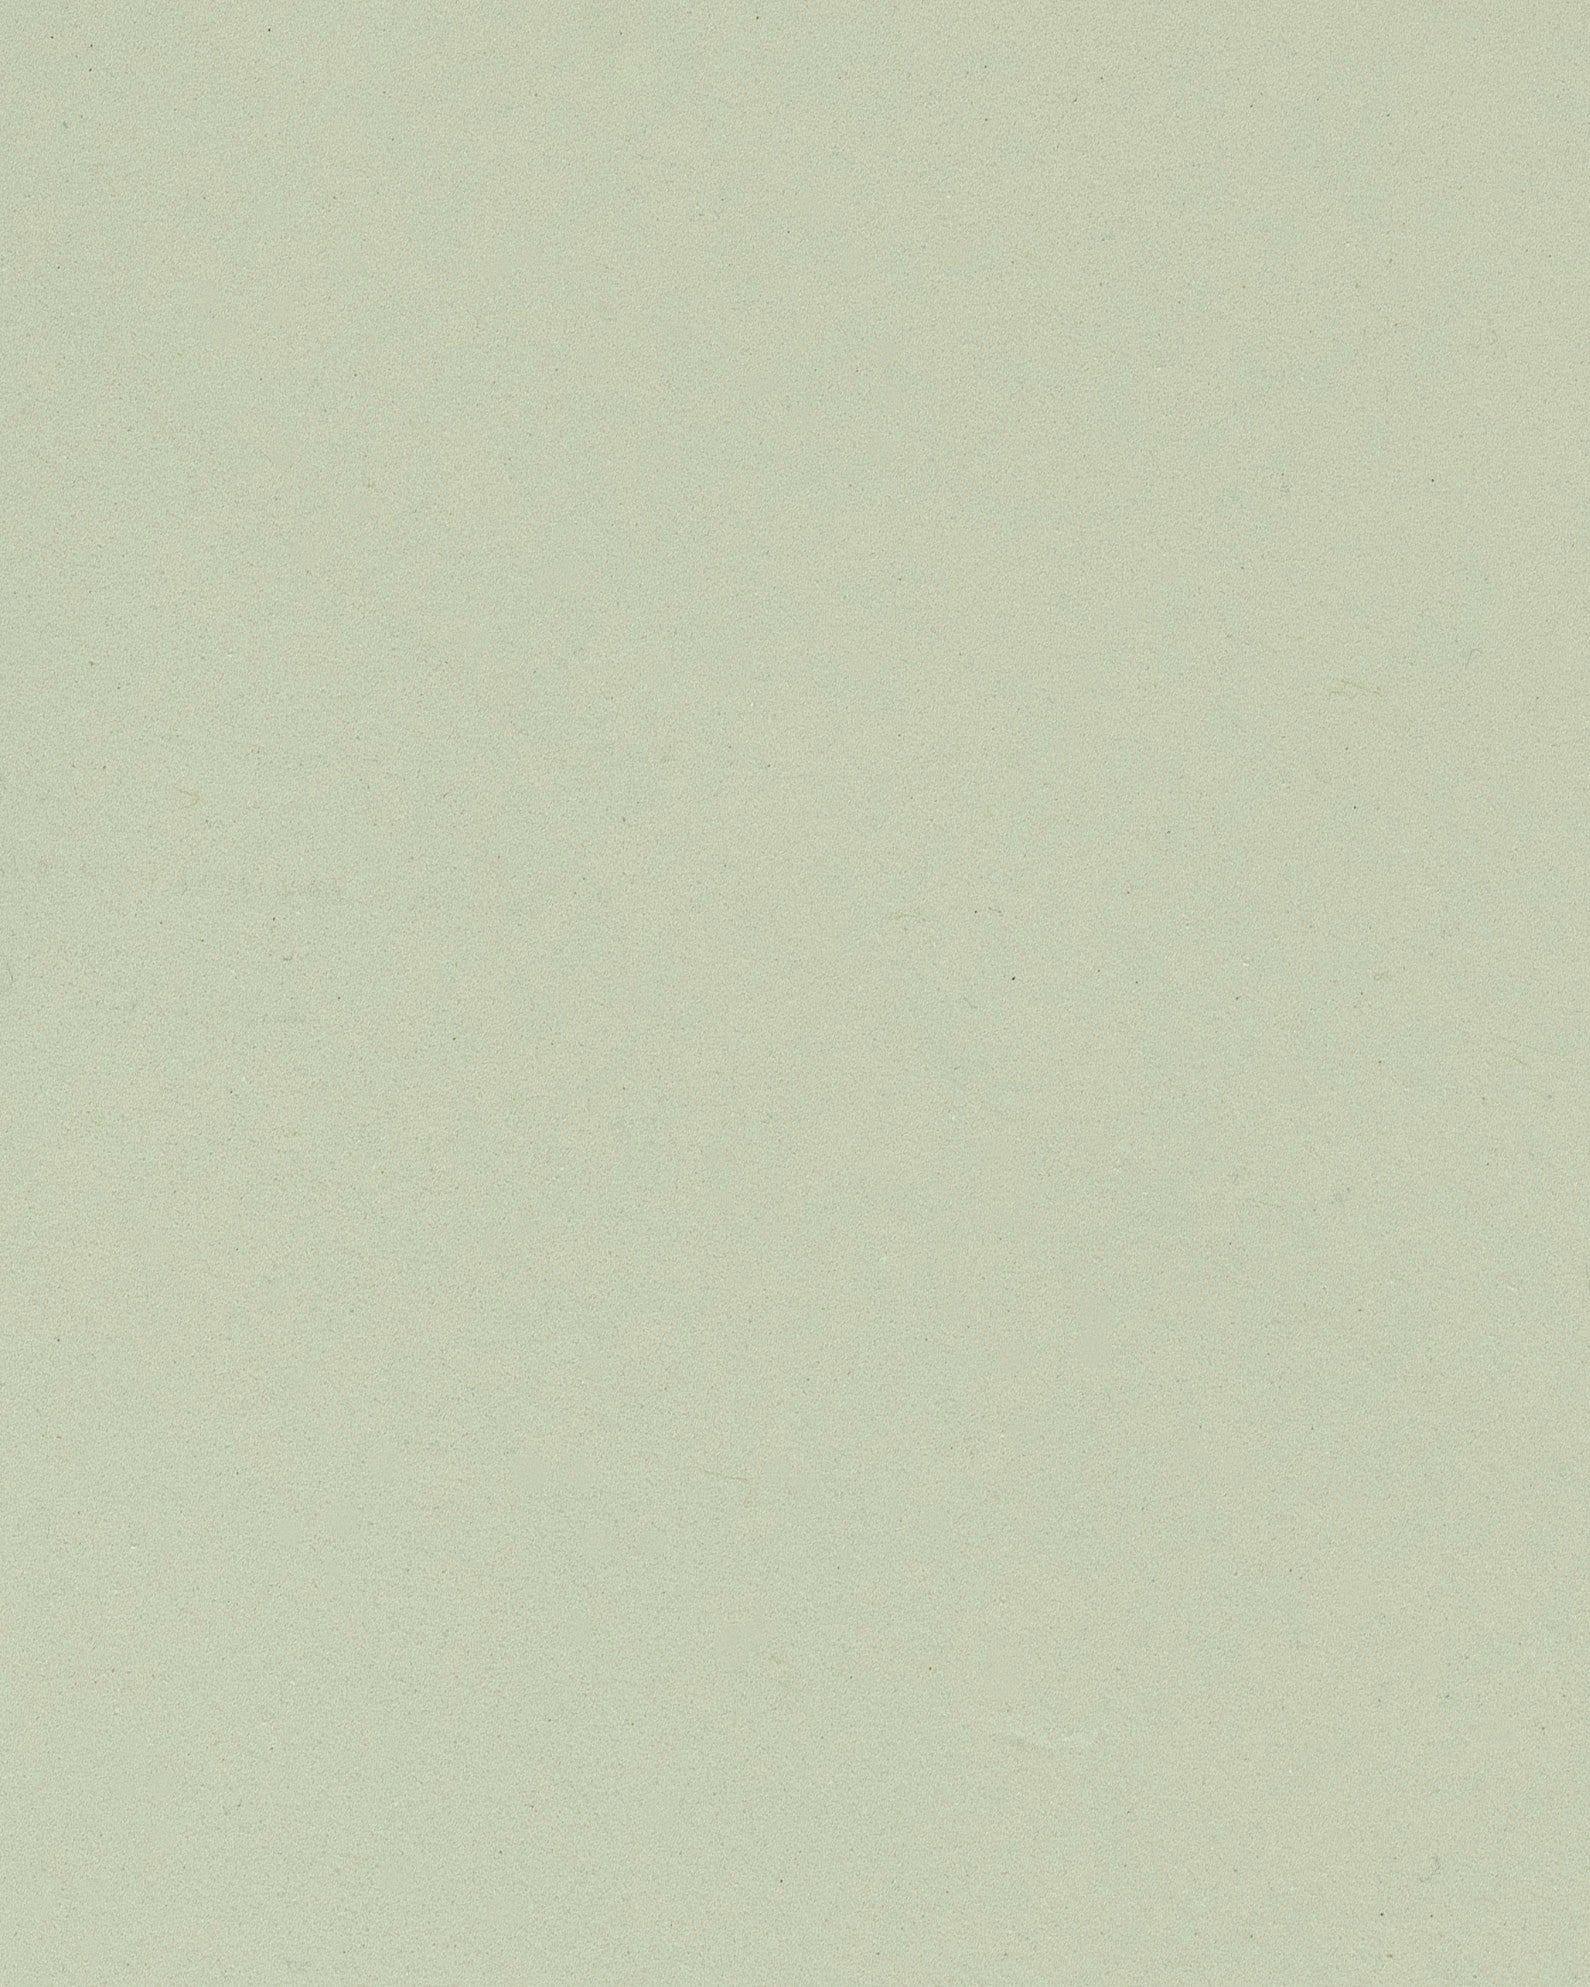
In this case, a beautiful shade of brown was chosen, namely the colour SAHARA. This matches well with the grey floor and the white door and window frame that the wall borders. To make the right colour choice, we recommend that you look closely at the adjacent colours/materials, the incidence of light and of course your personal preference. For example, in a dark or small room, you would rather use a light colour to keep it a bit more spacious, and - if you want to match a colour - you would choose a slightly lighter or darker shade than the colour you want to match. This way you prevent a minimal colour difference that you are guaranteed to notice (same = unequal).
Step 2. Surface
Before applying the first liquid - the microcement primer - it is important that the surface is free of grease, dust and dirt.
If this is not the case, the primer may not adhere properly to the substrate and in the worst case, the microcement may come loose - locally. So, this is important!
Once the surface is clean, you can mask off the edges and other points to prevent microcement from getting in places where it shouldn't be.
Preparing the surface for microcement:

Step 3. Microcement > Processing
Before you start, always check first whether everything is in your package, using the checklist in the manual. This will prevent you from getting stuck halfway through your job. Are you missing something? Then contact us immediately so that we can send it as soon as possible.
Calculate the number of square meters of your surface to be lubricated. This way you can easily calculate the required quantities with the help of the manual and you will always end up well. Calculate a little more generously, so you will certainly not run out.
Apply Microcement Primer
If the surface is clean, you can apply the microcement primer as indicated in the manual. You can easily apply this with a foam roller. Drying time: approx. 3 hours.
Smearing concrete wax
When the primer is dry, you can start with the finishing layers - the layers that will determine the look of your wall and create the real microcement effect . You always mix the chosen color (pigment) - which is supplied in a separate bottle - through these layers. Use a mortar mixer for mixing and make sure that you mix all microcement paste well with the pigment, this way you prevent color differences.
The application of the finishing layers is done in 2 thin layers, also called 'scraping layers'. You scrape the microcement into the pores of the previous layers, as it were, in order to smear the whole thing closed. The more/busier strokes you make, the busier your microcement wall will be. If you make long strokes and smear your starts smoothly, your microcement wall will have a more even/smooth appearance.
Drying time: approx. 8 hours - after this you can sand smooth with 180 grit sandpaper if desired
Apply presealer
After the last layer of microcement, you can start with the finishing. First, apply the presealer, which forms a bonding bridge between the microcement and the water-repellent PU coating. You can apply the presealer with a microfibre roller - and make sure that you do not leave any roller residue. Drying time: approx. 3 hours.
Apply PU Coating (optional)
The final step is to apply the water-repellent PU coating. This is not mandatory for purely decorative walls. The PU Coating consists of a liquid (component A) and a hardener (component B). Mix these first (ratio A:B = 10:1) and then apply them to the surface with a microfibre roller. If you have a large surface, we recommend mixing the PU coating in small parts. The liquid hardens when the A and B components are mixed. Drying time: approx. 2 hours.
Always apply a second (and perhaps even third) layer of PU coating to your floor, countertop and in the shower. This will ensure that the entire surface is provided with a water-repellent layer. To do this, you can lightly sand the first layer of PU coating - this will ensure better adhesion of the second coating layer.
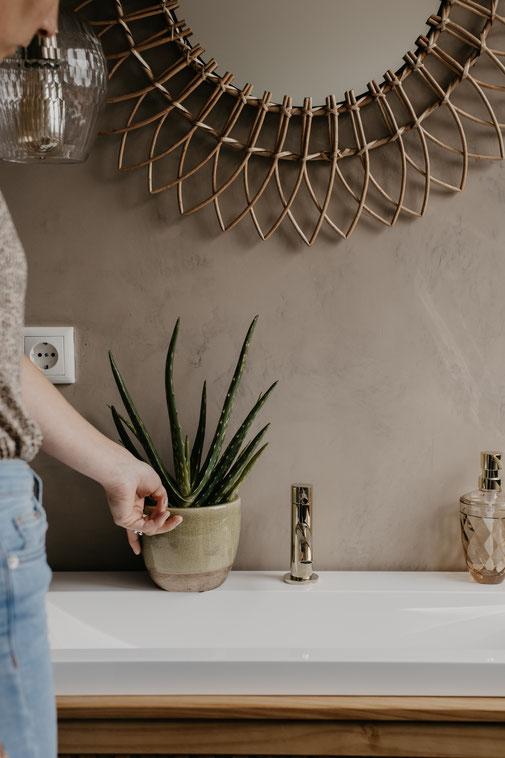
Step 4. Finishing microcement & Styling
When the Presealer (or coating if applicable) is dry, you can cut away the tape and, if desired, seal the edges with an acid-free silicone sealant . Your microcement wall is now ready and completely dirt and water-repellent. After this, you can start styling your wall. For example, we have chosen a washbasin cabinet, round mirror and gold accessories to complete the whole. The end result is - if we may say so ourselves - a picture!