How to get a completely different toilet in no time
More and more often I got questions about what our toilet looks like. Strange question? Yes, if I read it that way. But actually it is also logical because I have never posted a picture of our toilet on my Instagram. That is also logical because it is not photogenic at all. Until now? How did I do that? Enjoy reading.

Toilet renovation
One of my biggest remaining wishes was to renovate our toilet. But how do you do that? A toilet is and remains a toilet. You can't do that much with it. Until I got into conversation with Betoncire Nederland. No more tiles, but concrete walls. Wow, that seems like a small adjustment, but one with a big effect. So I went to Gouda with my father for a 'Betoncireën' workshop. Because yes, I can paint, how difficult can this be. After a two-hour workshop I felt skilled enough to do it myself, well, of course not me, but my husband does. With my fine sense of coaching, my husband comes a long way. So now I mainly write down what my husband tells me.
Applying microcement is not difficult!
And I really mean that. Applying Betoncire is not difficult. That is because it does not have to be beautiful. It has to look like concrete. Coarse, fine, light, dark; you decide that yourself. But it does take time. Because it is constantly building up layers, which also all have to dry before you can work on them again. So take your time and the result will be beautiful.
Step-by-step plan
Below are the steps you need to take and what you need in short. In brackets I refer to the chapter where I tell more about this.
- Apply primer ('Yes tiles away'). For this you need: foam roller and a container (both bought at the Action).
- Leveling your wall if necessary ('Leveling'). For this you will need: Mixer, flexible trowel, a scale and scissors for cutting the mesh.
- Apply the first layer of concrete wax ('The real deal'). For this you need: a scale, flexible trowel.
- Apply second layer of concrete wax ('The real deal'). For this you need: a scale, flexible trowel.
- Apply the first layer of finisher with pigment ('Finishing'). For this you need: a scale, mixer, flexible trowel
- Apply second layer of finisher with pigment ('Finishing'). For this you need: a scale, mixer, flexible trowel
- Applying presealer ('Sealing and coating'). For this you need: a microfiber roller and a container
- Apply coating ('Sealing and coating'). For this you need: a microfiber roller, a measuring cup and a container.
- Sealing ('Finishing'). For this you need: caulking gun, sanitary sealant in the colour of your choice (grey for us).
- Yes the moment we've been waiting for: styling!!!! Buy some nice accessories. Don't forget to buy a beautiful lamp.
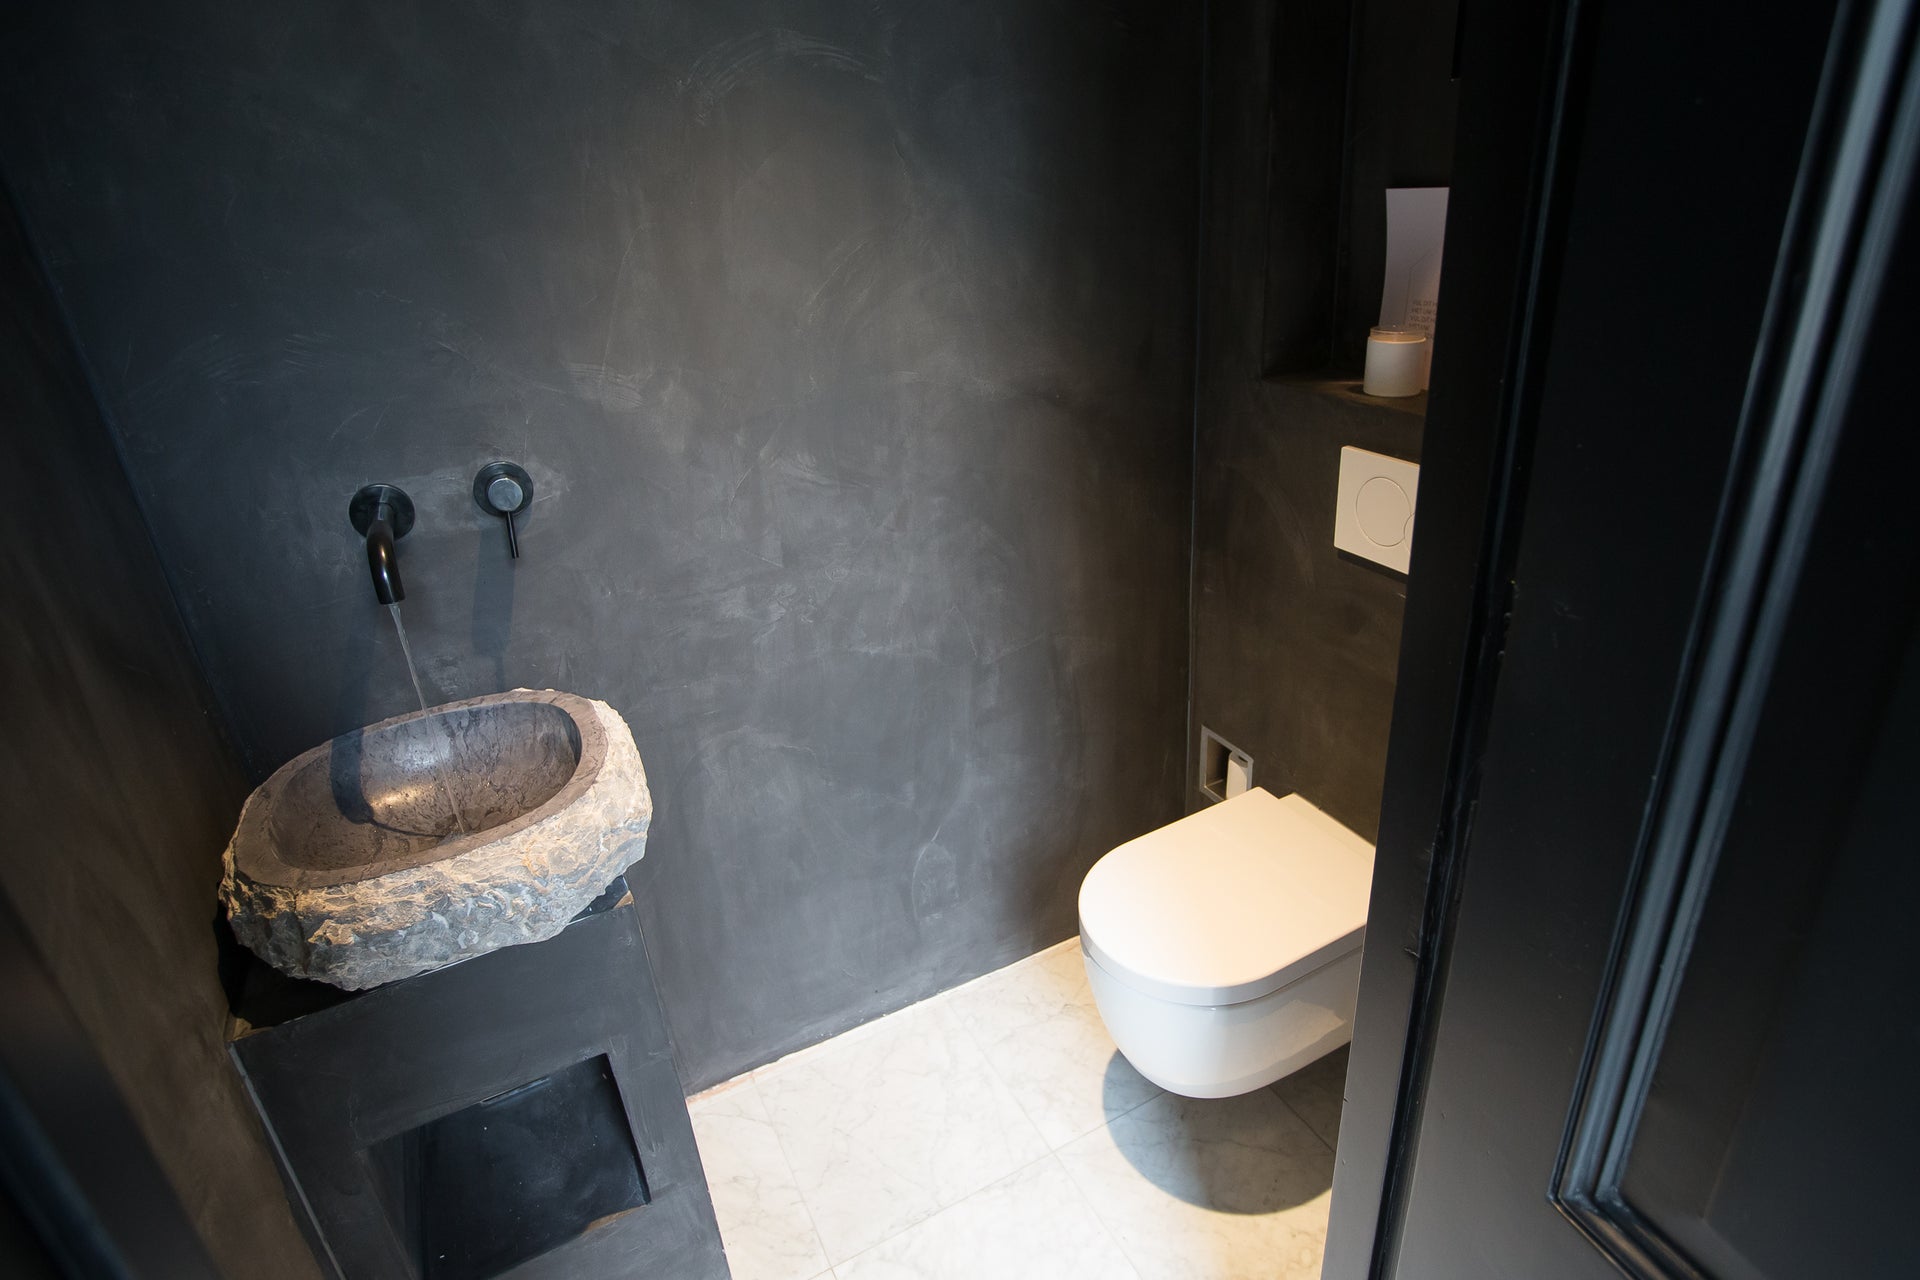
Yes, tiles away!
We had a standard toilet with white tiles and a green/blue mosaic edge (yes really!). We chose to leave the tiles in place. This forms a solid base. We did remove the mosaic tiles because they stuck out. We filled them with rotband. Oh how happy I was when the mosaic tiles were gone, because ugh I thought that was ugly.
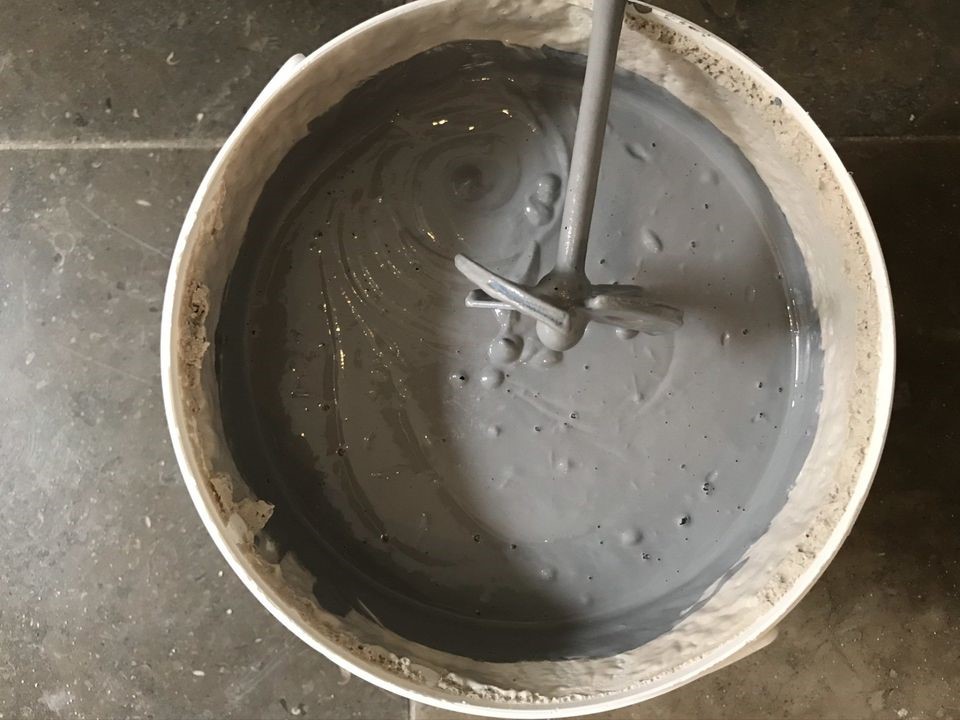
Flatten
You start with a primer. This ensures that the underlayer does not absorb too much. You can easily do this the night before. It is not a lot of work at all. The first real layer is immediately the most difficult (after that it only gets easier). The tiles must be made flat with leveling mortar and mesh. (Nowadays they also have an easier option for this in some cases, which you can apply with a block brush).
The mortar ensures that the concrete wax does not crack at the joints of the tiles. Because you don't want that of course. Very important. Not smooth, but flat. There is a small grain in the leveling mortar and the layer that you apply is so thin (1.5 mm). So you don't have to plaster it, but make it as flat as possible. By the way, it is worth buying the flexible trowel from Betoncire Nederland. What a great tool!
- Tip: you have to mix the leveling mortar. Mix each time for a maximum of 5-10m2. Otherwise it will harden too quickly. And take plenty of time for the drying process. Oh yes, hubby: "write down that you also have to clean your tools regularly". Well here it is.
After at least 12 hours you can sand. This can be done with a sander and sandpaper grit 80. We did this with red sandpaper. This is not the most convenient, because red grains can remain in your work, but yes, it has to be flat. And we could not find a light color sandpaper for a sander. So I came up with the idea (I thought it was smart ;-) to first sand with red sandpaper on the sander, and then by hand with a light sandpaper over it again.

The real deal
After a lot of sanding, the real work begins. You are now going to apply two layers (with drying time in between) of the base paste. My husband used an old square/rectangular lid to scoop the paste onto. That way he could more easily spread the paste onto the wall with the trowel. My husband: "Don't forget to tell me about the kitchen scale". So....... use a kitchen scale to use the right amount of pasta per m2 (about 700 grams). So don't scoop more than 700 grams onto your lid. My father would say: "Measuring is knowing, dear".
So, let's spread it. With the flexible trowel, you apply the paste in half moons. In a very thin layer (0.7 mm, yes I know, that's almost nothing). Pay attention to the amount you use. The smoother the surface, the less you need. That really varies from wall to wall. One time, my husband used 800 grams per m2 and the next piece of wall, he used less. But pay attention: it must be opaque.
- Tip 1: I told my husband: "Keep your hands off your work"! But hey, he's a man. And he's stubborn. But okay, seriously. Once it's smeared, leave it. You can better sand it again and a second layer will come on anyway. So again (and now also on behalf of my husband): "KEEP YOUR HANDS OFF! It won't make it any prettier".
- Tip 2: Don't be afraid of anything. Betoncire is rougher and coarser than painting. You really build it up layer by layer. So layer after layer it also becomes more beautiful. My husband would say: "With just eye shadow you're not there either".
- Tip 3: After each layer you should cut the corners with your trowel or a knife. This prevents the corners from tearing.
After at least 5 hours the first layer is dry. We slept a night before we started the second layer. After layer 1 you will sand again (grit 100/120). Take your time for this, because this ultimately determines how beautiful your wall will look. The second layer is identical to the first, but you will see that your consumption is slightly less. After the second layer (and careful drying) you will sand again.
Finish
Now comes the finishing phase. Only now do you start to see how it will really look. For the third and fourth layer, use finishing fine paste. Add the color you want here. We have chosen 60% gray color. Use a paint mixer on your drill to mix. You use approximately 250 grams per m2. Don't be alarmed, you use more with the first layer. With the second layer, you use considerably less.
You apply the finish layer in half moons. Make sure there is good lighting so you can see where you still need to apply a layer. Between the layers (make sure there is at least 5 hours of drying time) you can sand with grit 180. Do not sand too much, because the layer you have applied is so thin that you will sand right through it. And of course you do not want that.
Sealing and coating
With the last two layers you provide a seal layer and pu coating. You do this really last and only when you are completely satisfied. You start with the presealer. This is a watery agent and therefore very thin. You apply it with a paint roller (tip: Action). After 3 hours you can apply the pu coating. This is the last layer that ensures that your wall is waterproof. You mix two bottles for this (ratio 10:1). Make sure you make small amounts, because one of the components is a hardener. The stuff hardens very quickly.
- Tip: Take an old cup and draw a line on the outside with a marker. For example. at 100 ml and at 10 ml. Then you have the exact amount.
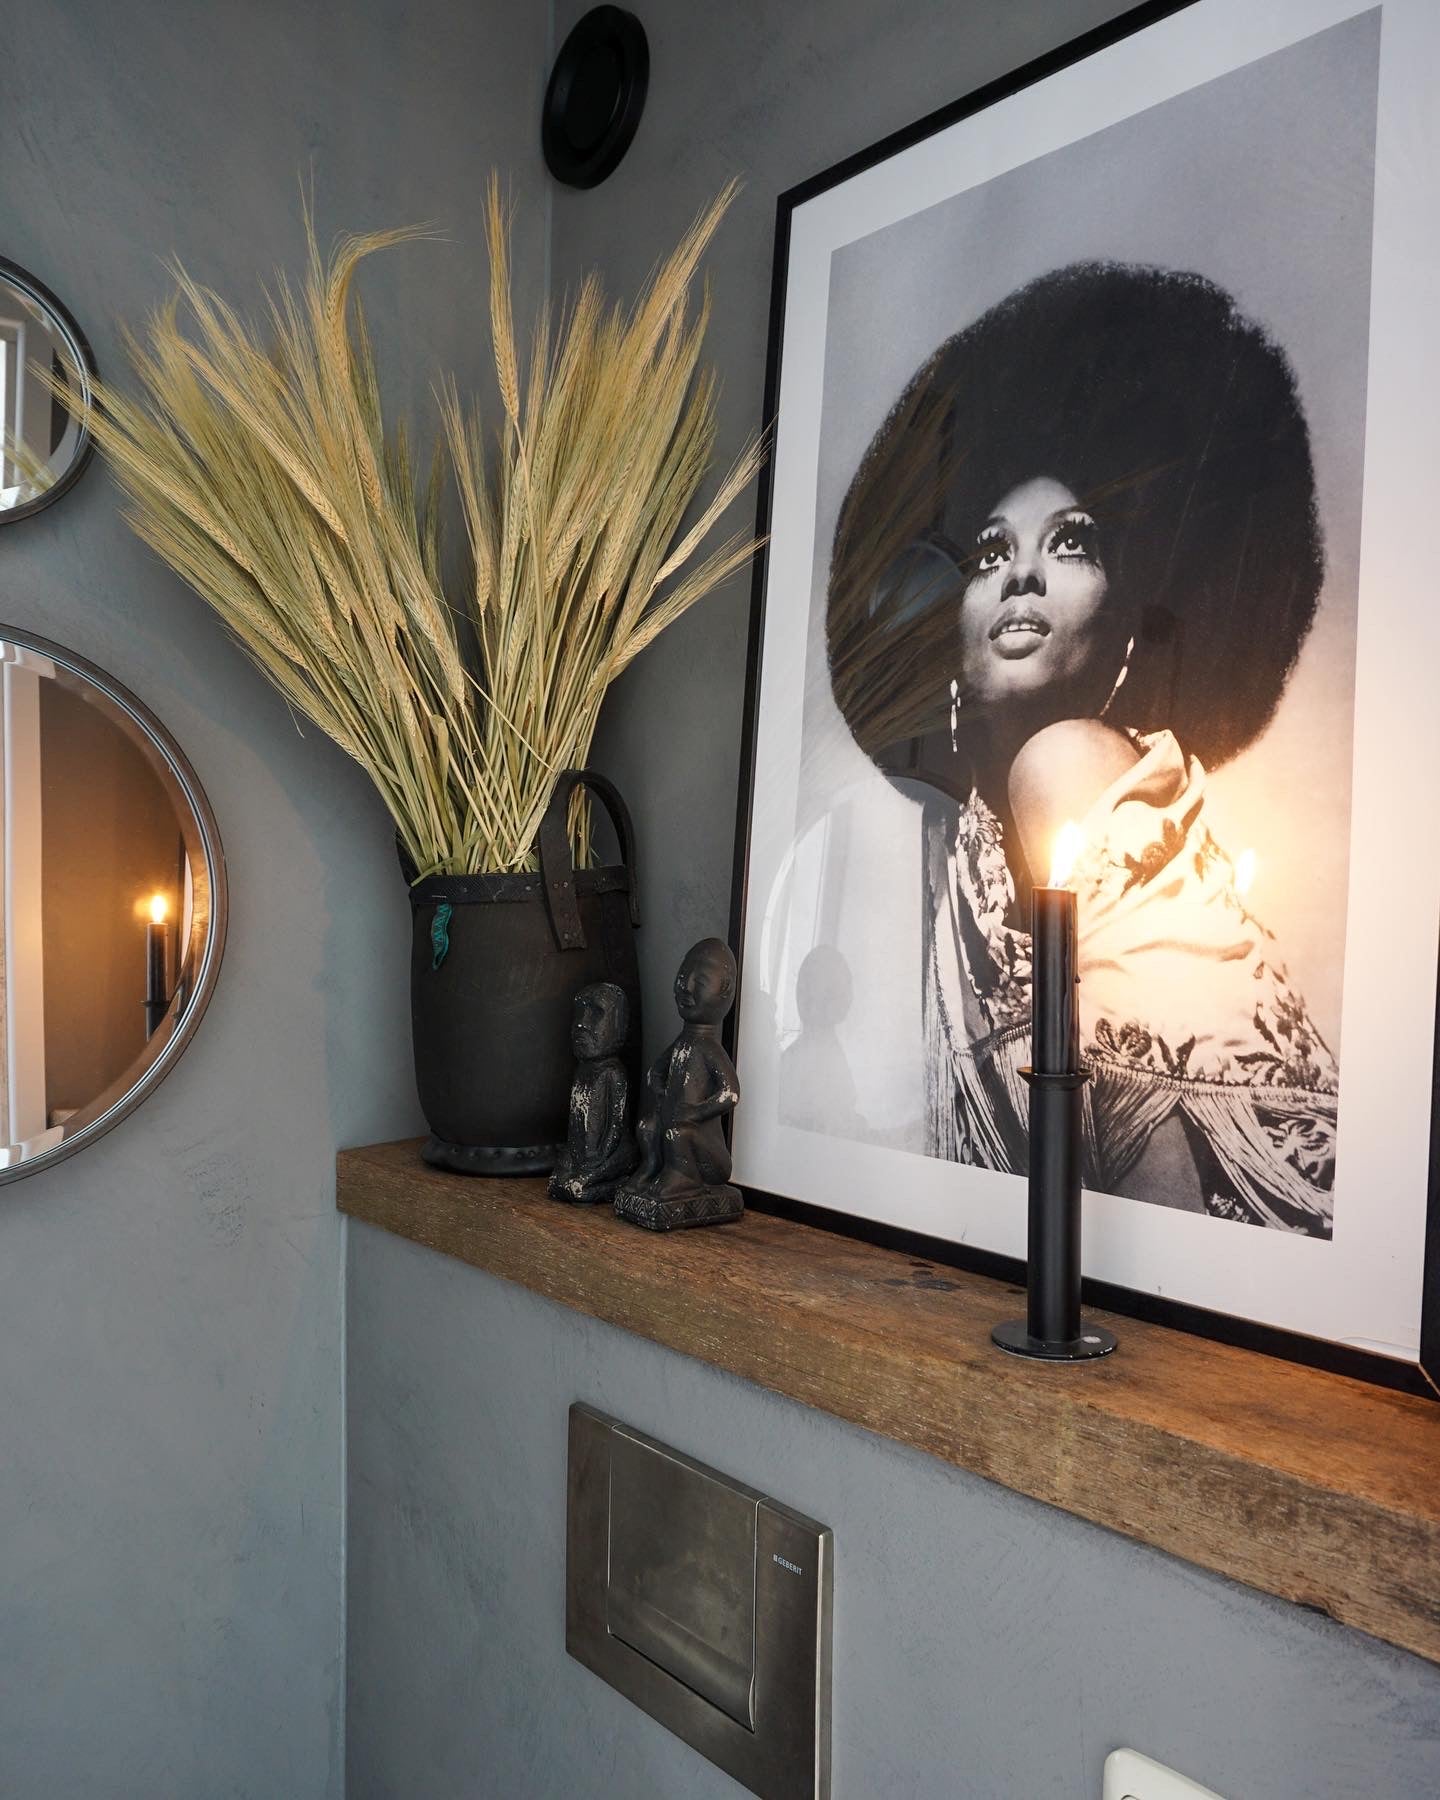
Finishing
Of course, the walls still need to be finished. For example, you need to seal the corners neatly. And of course, decorate and style. Yes, this is the moment you've been waiting for.
This can be done by anyone
Really, I said it already; anyone can do this. It is a matter of smearing. Small amounts and especially a lot of sanding. And you decide how fine or coarse it will look. Yes, here it comes again.... Husband: "It's a painful job!". Husband bumped his head against the door after the first layer. Of course it wasn't his own fault, but mine. Oh well, as a client you sometimes have to protect your employees.......

Microcement Netherlands
Beton cire is available for many applications. For your wall, your floor, kitchen, table or cupboard. You can simply buy it in a ready-made package. It is available in many colours. And actually it is not that expensive at all. I highly recommend it, because wow, your space will be different. Okay, let's be honest; it takes time, but then you have something.